Milan Art Institute Mastery Program Review: Week 1
For the first week of the Milan Art Institute Mastery Program, I’ll be painting my very first oil painting. We’ll be learning subtractive painting and the first step is to paint the entire canvas in van dyke brown mixed with 1 part linseed oil and 6 parts solvent. This is the ground for the underpainting to subtract out of.

Creating the ground to subtract out of
Next, we sketch in big stuff first and then add details in later. Here we are concentrating on values. The lightest areas in the source photo will be the lightest value areas in the painting. The source photos for this assignment were different types birds to choose from. I went with a chicken because one day, I would like to own some pet chickens. I also think they are very cute.
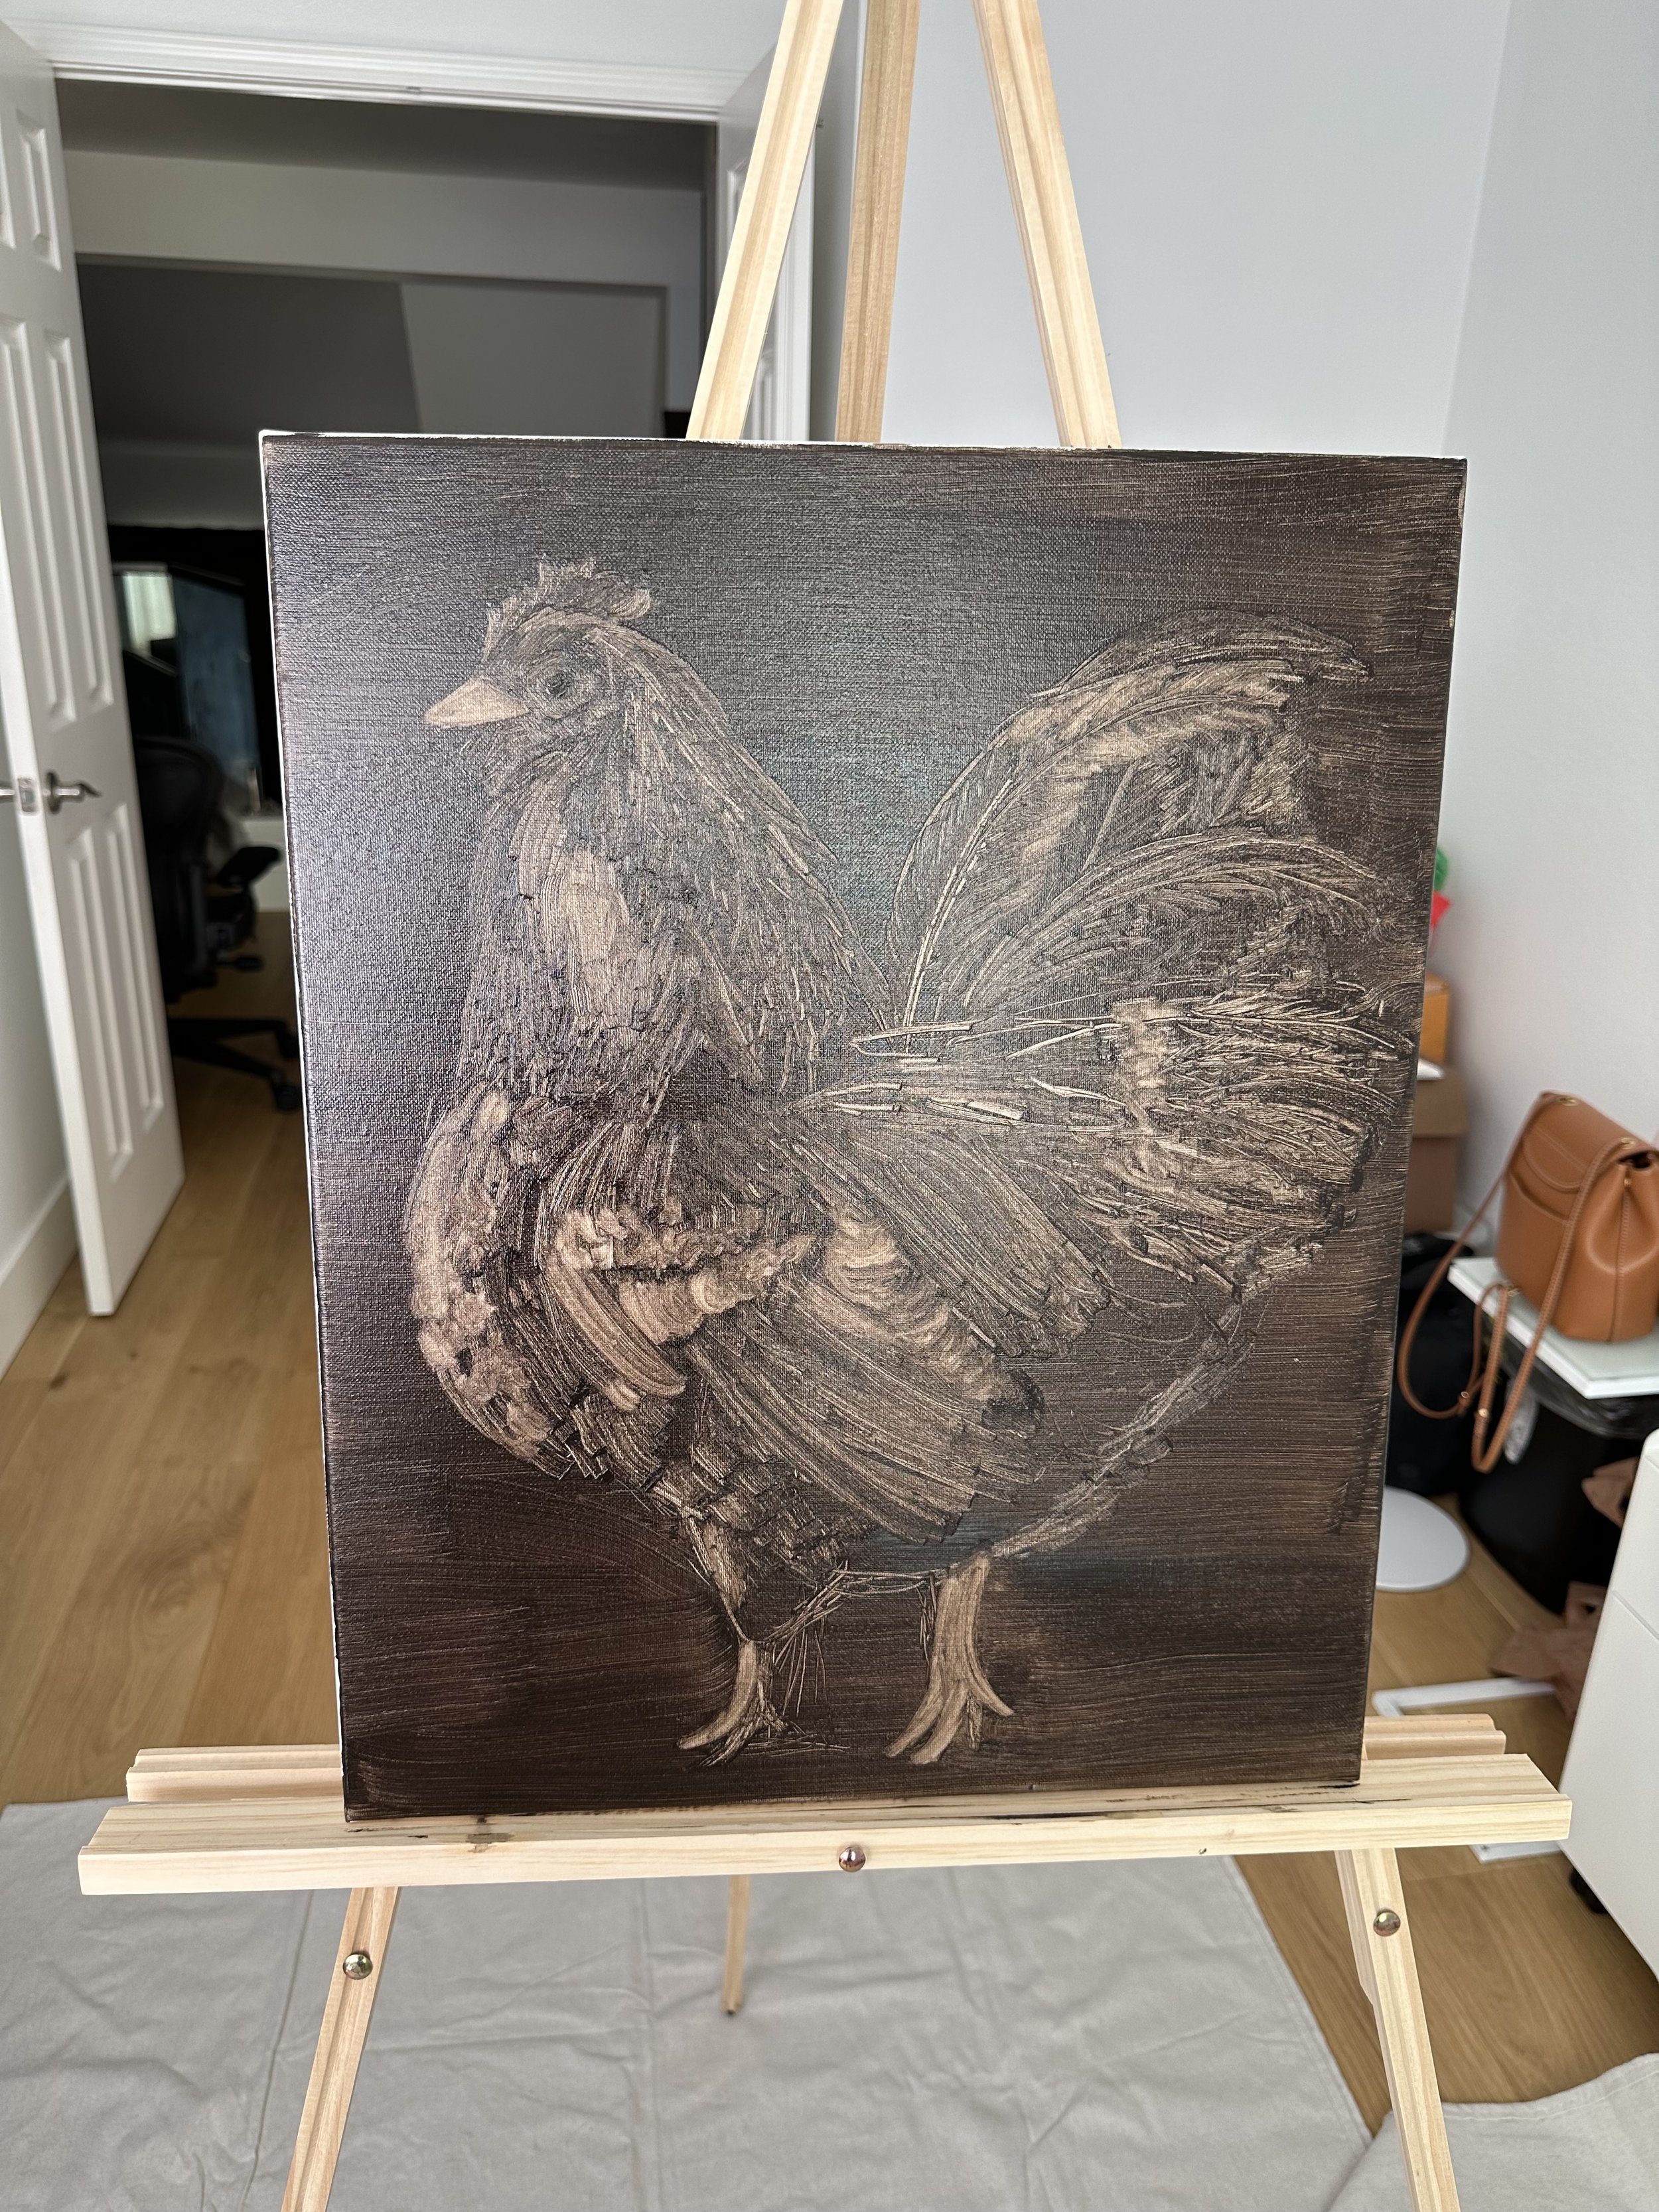
My chicken
Subtractive painting is pretty fun! It’s basically removing the paint from the areas that you want lighter. If you make a mistake, it can be fixed with a brush to move the paint back to where you want it. Now we need to wait for the painting to be completely dry before moving on to glazing. The dry time takes about a day.
So, in the meantime, in the drawing part of the class, we are learning about proportion. Standard of measurement is the reference used for the drawing. Proportion is width and length. Here we are working on a drawing of a brush in our non-dominant hand. Start out by drawing the brush first and then figure out the hand using proportion.
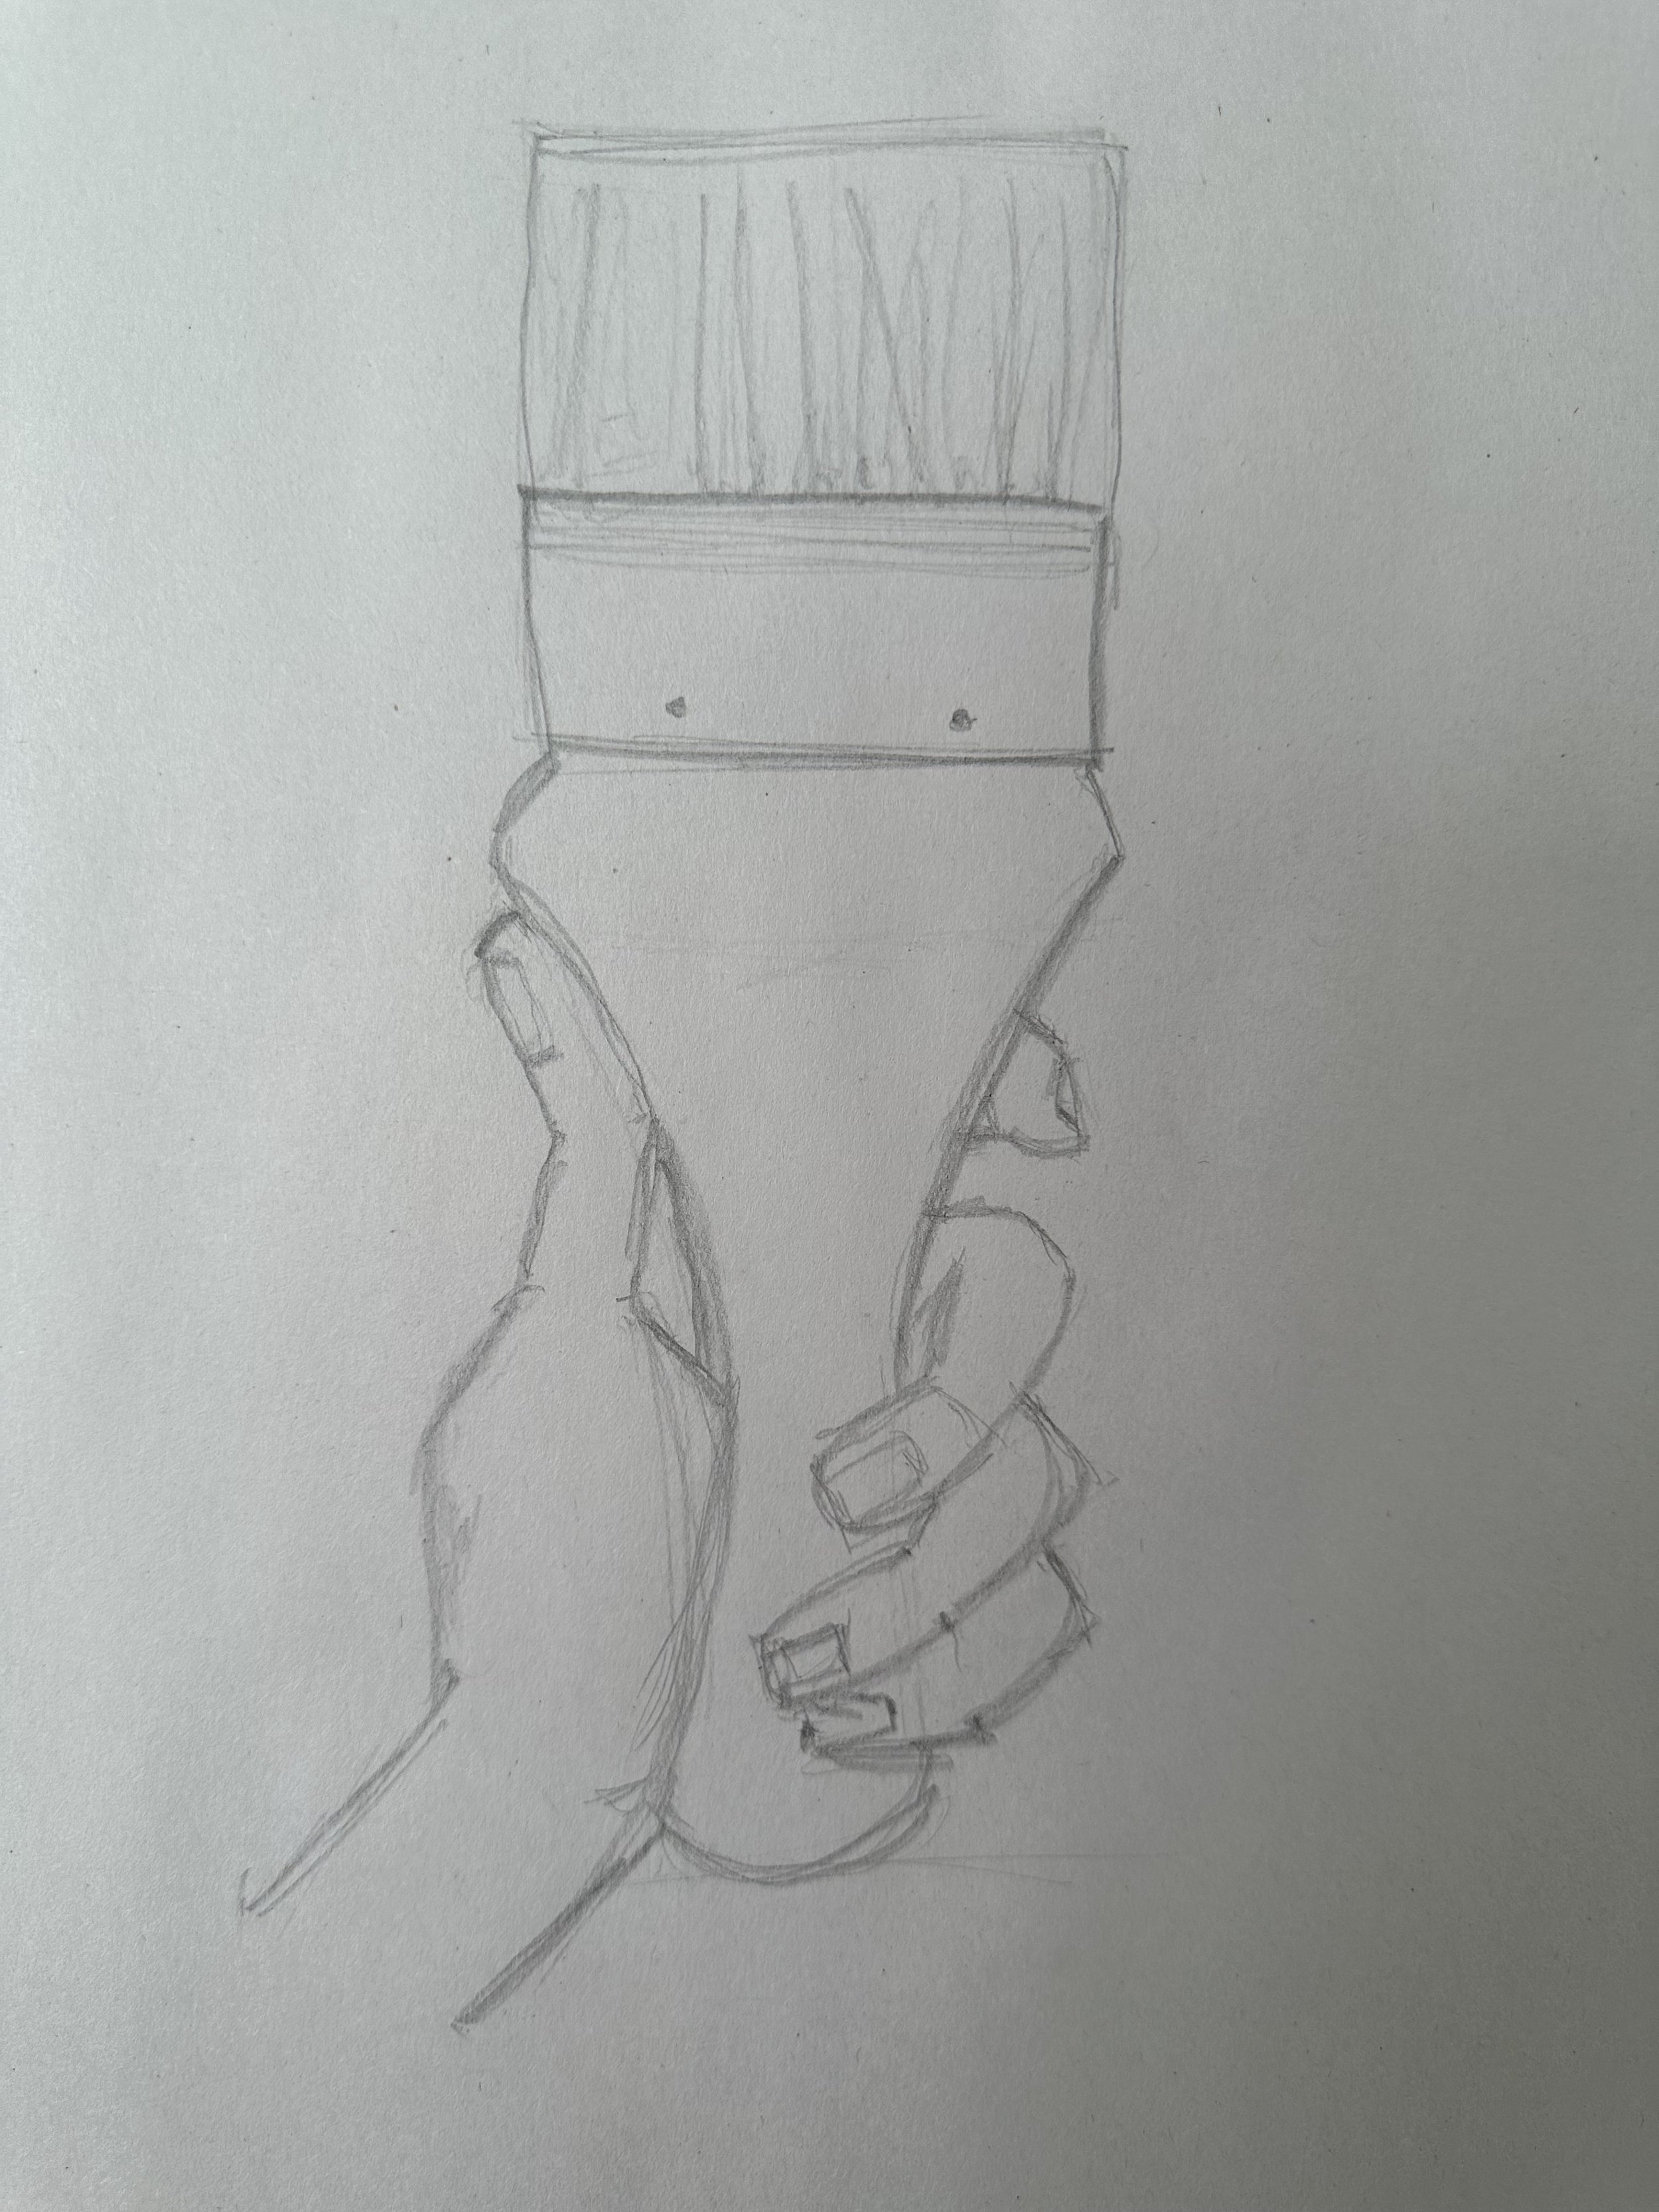
Brush in hand drawing
We also learned how to use the scale tool to draw proportionally. The smaller side is for measuring the object and the larger side is for the corresponding measurement on the paper. In order to make the drawing bigger, move the bolt to be closer to the smaller end, thus making the larger part even larger. To make the drawing smaller, do the opposite and move the bolt to the larger end so there is less space available on the larger end.
I chose one of my wedge sandals for this drawing. The first step is finding the height and width of the shoe, making a box that the shoe will go in.
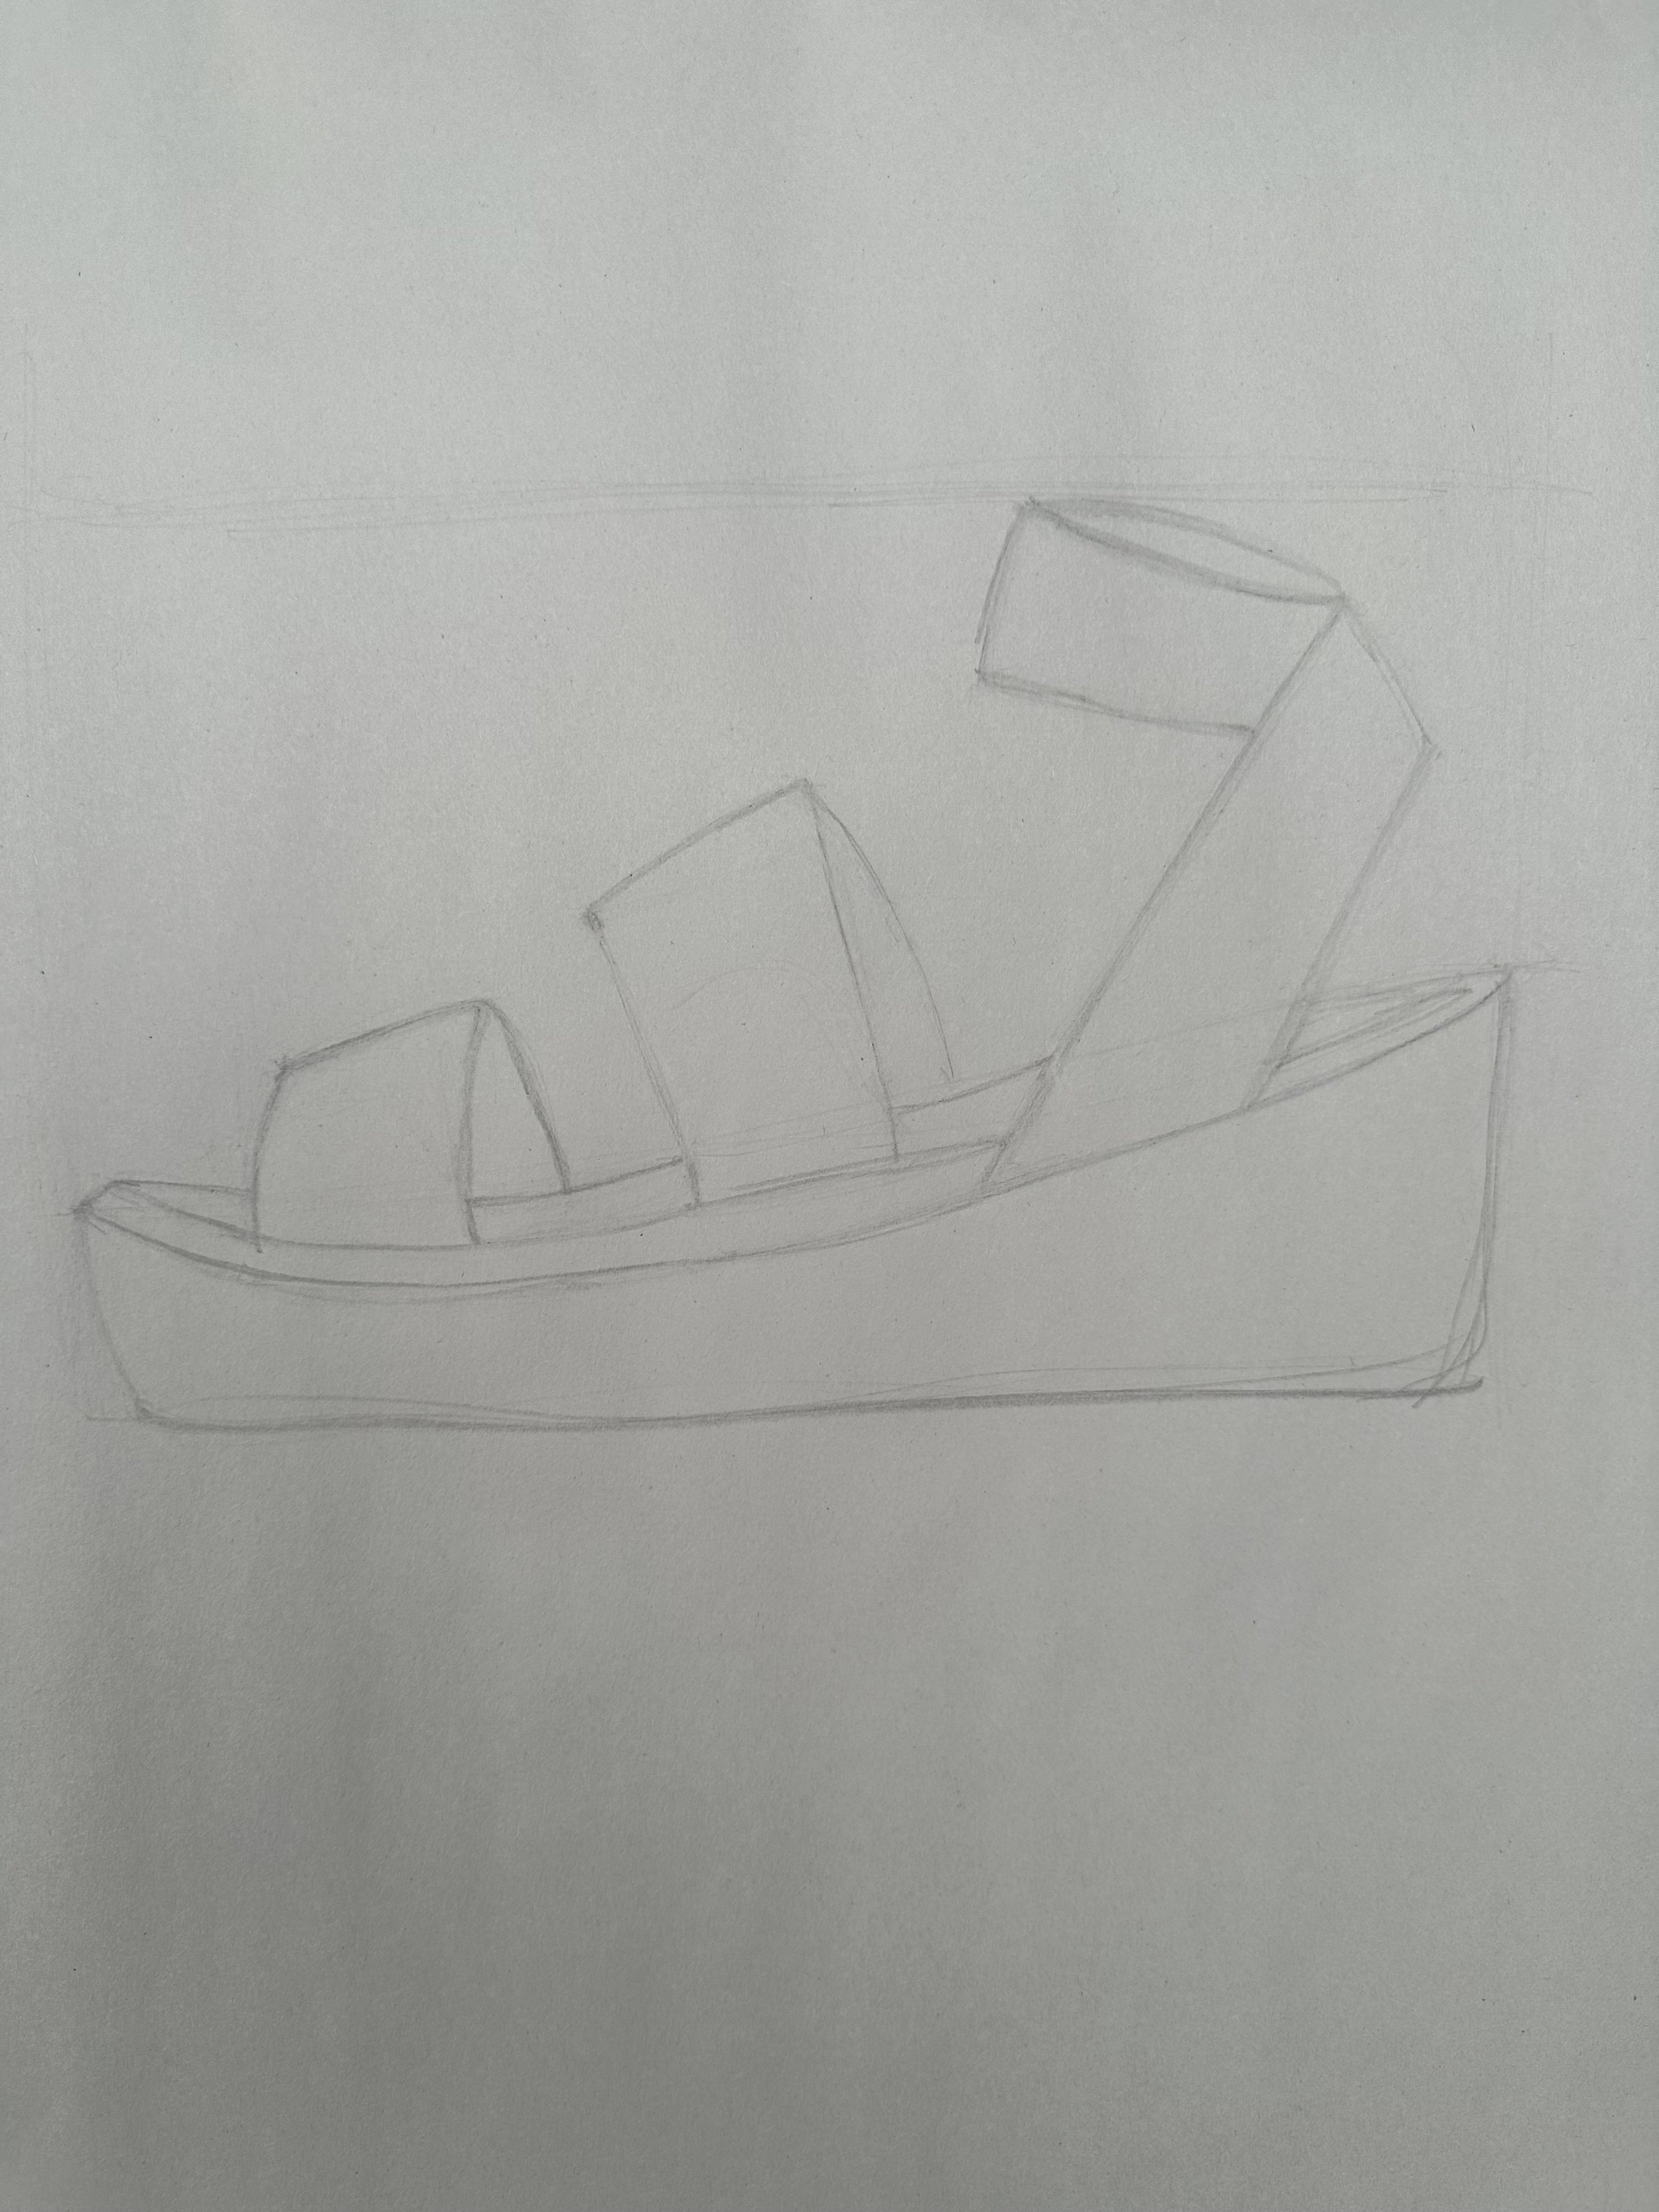
Shoe pencil drawing
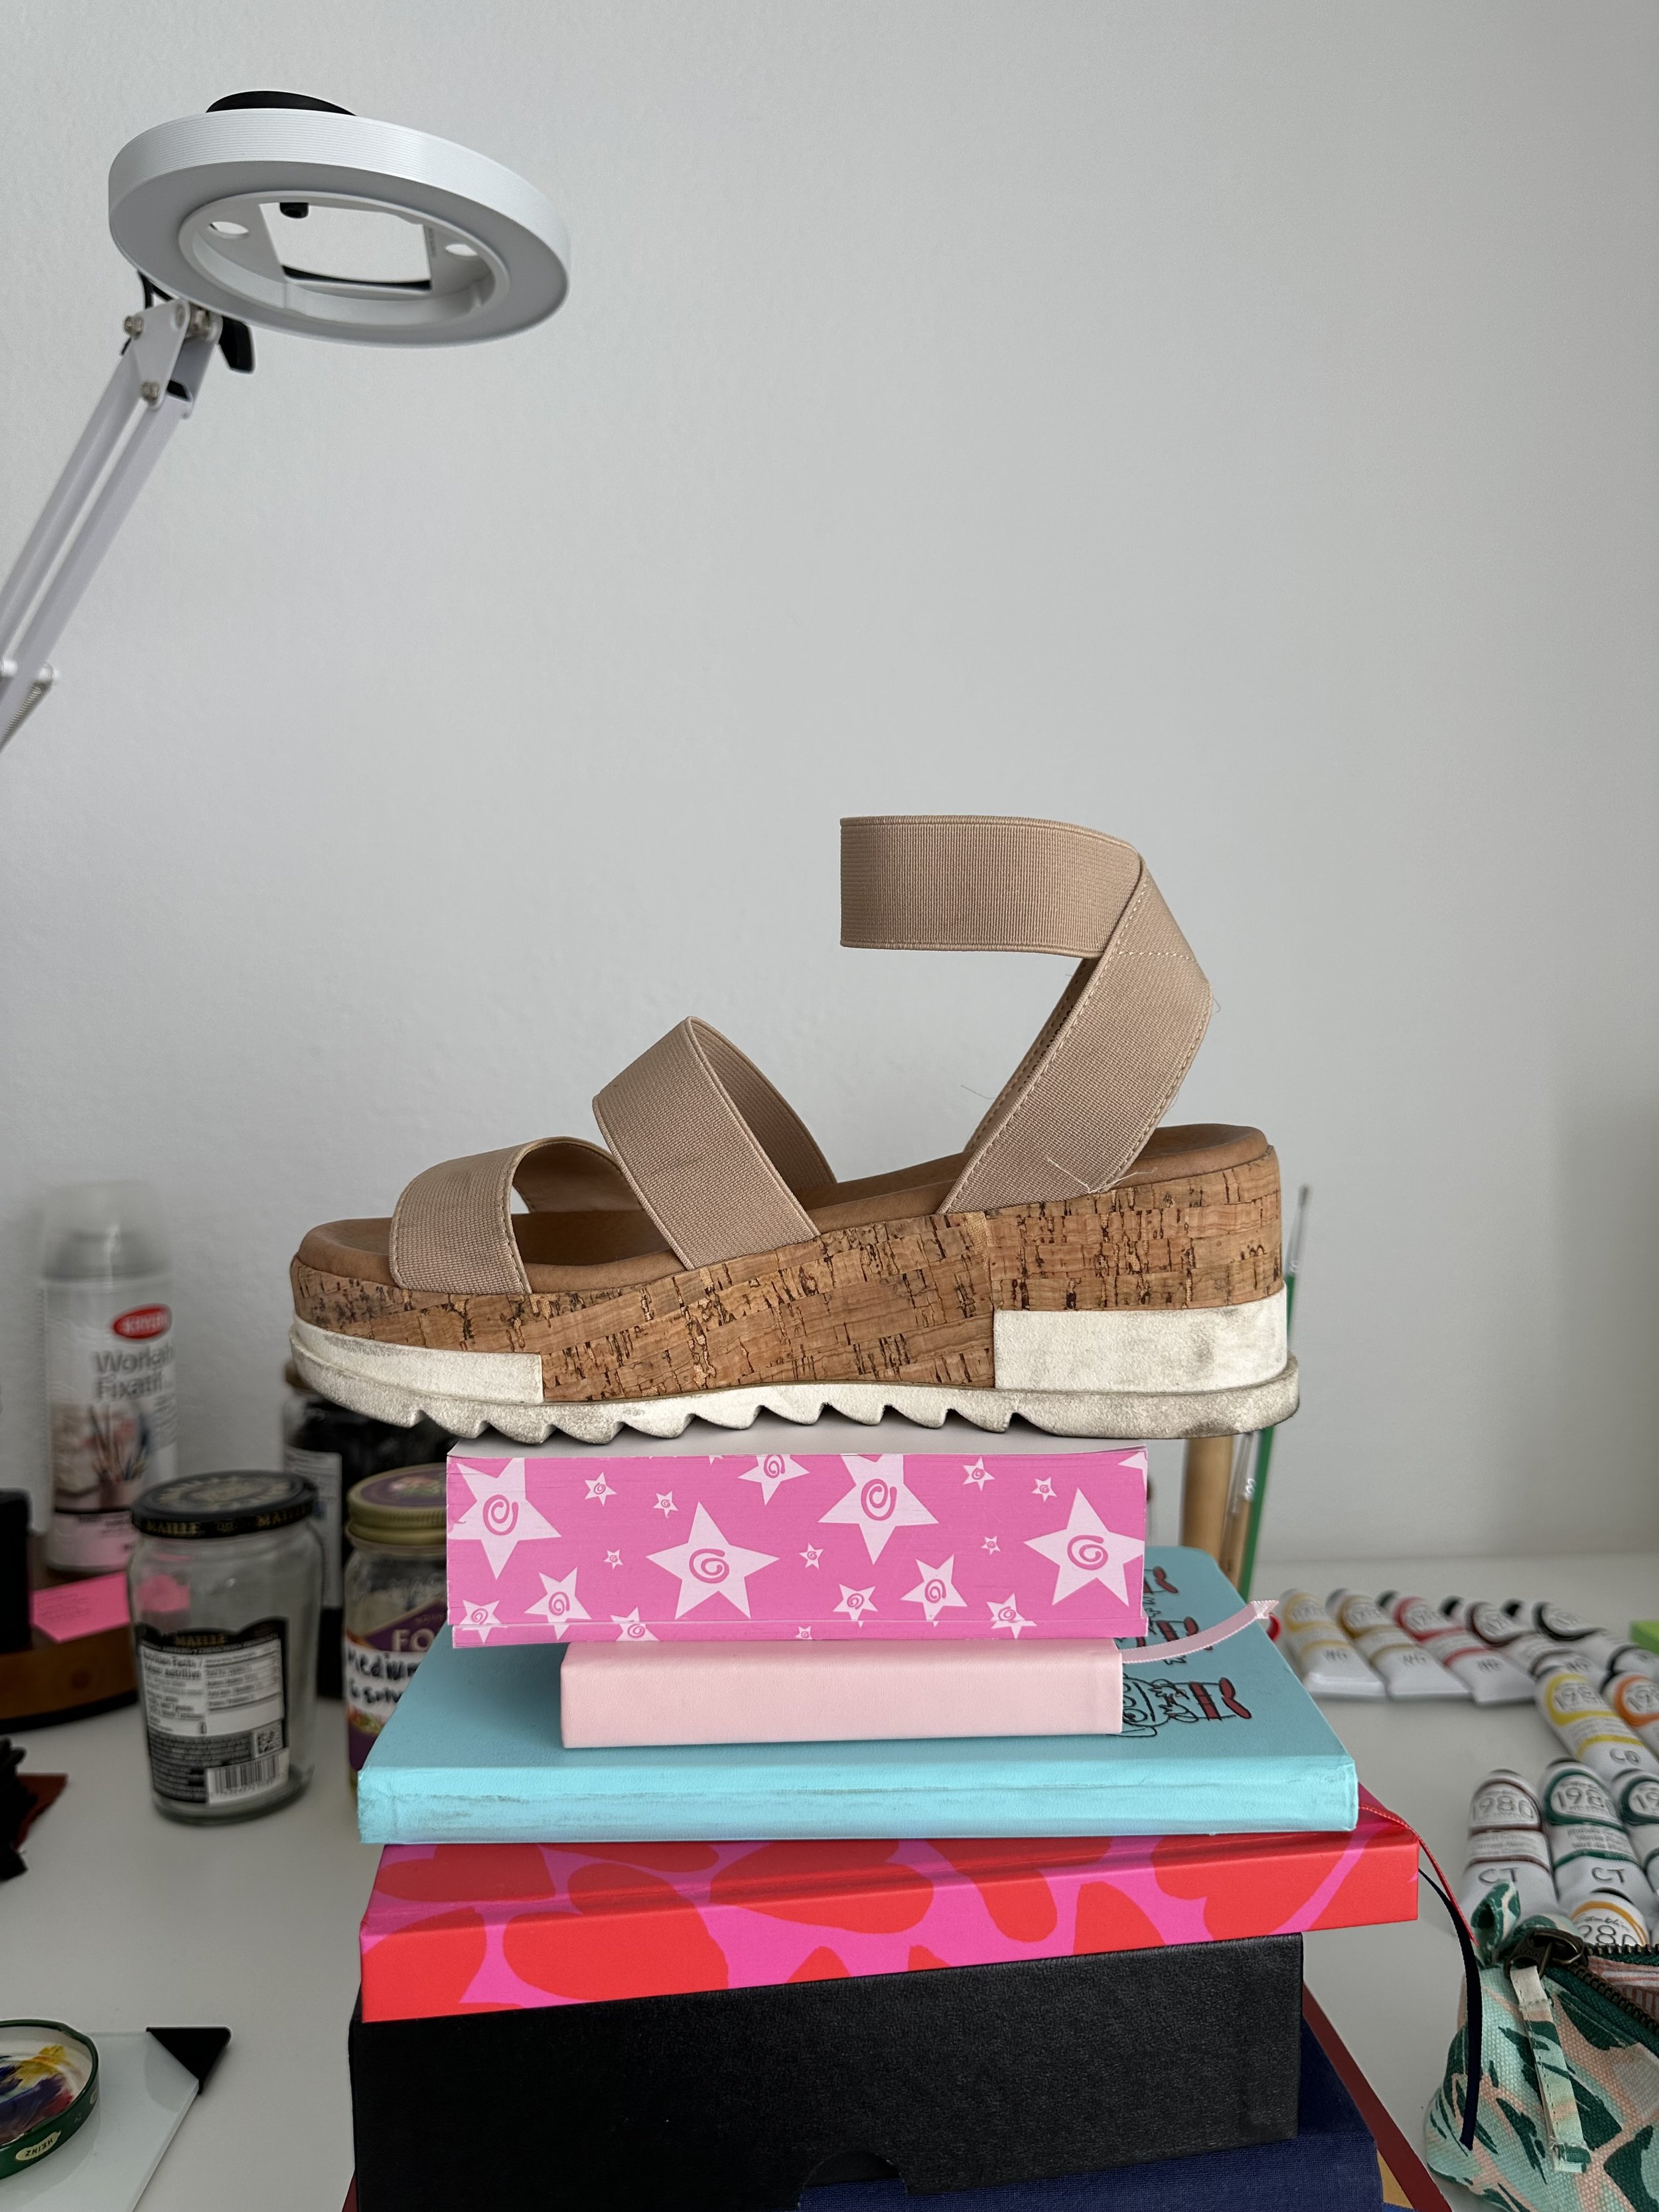
My wedge sandal
Back to the chicken painting, the next step of the process is the opaque layer. For opaques, we paint dark to light, ending with highlights and do the background first so the bird looks like it’s in front of the background. Here my intention was to capture the feeling of the feathers with the brushstrokes.

Chicken painting is finished!
Now my first oil painting, the chicken, is finished! This week was fun and I enjoyed learning new things and experimenting with different materials that I hadn’t used before. I’m excited to start week 2! I’ll be blogging about my experience in the program here. A new blog post will be released each Monday until I complete the course. Have any questions for me? Leave a comment below!